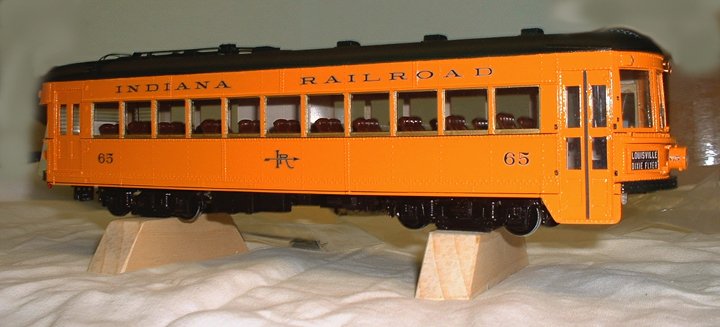
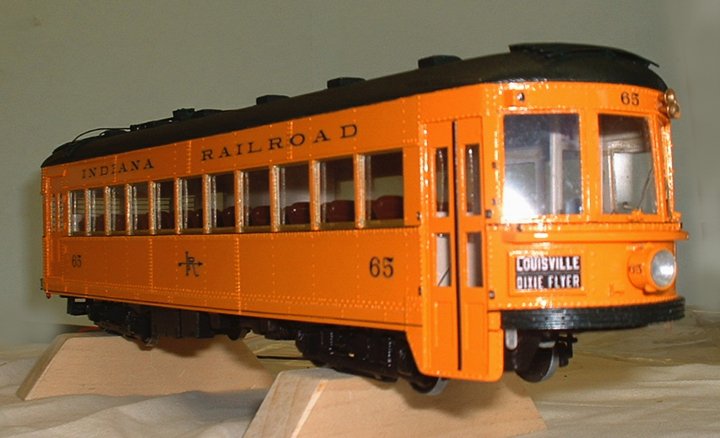
IRR Truck Installation In The St Petersburg Model
Click on the thumbnail to see the full size photo.
Tips
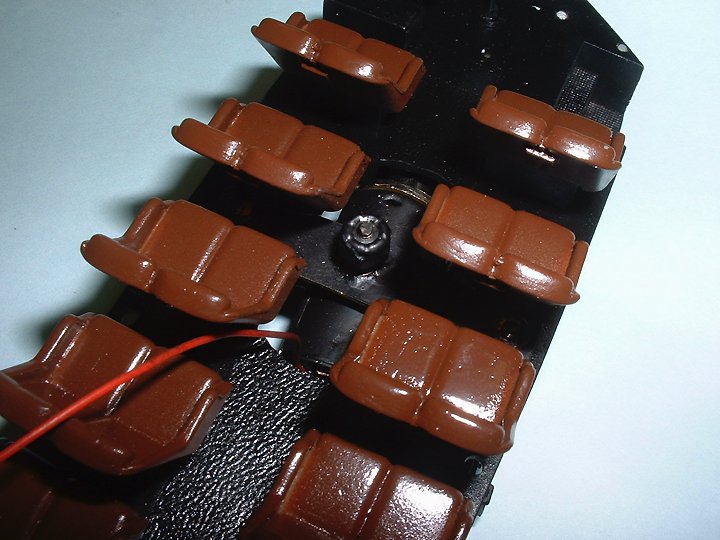
To start the installation first remove the existing trucks. On this particular model to gain access to two of the floor screws, the coupler radius beams have to be removed. Remove the remaining six screws which are readily visible, and very carefully remove the floor from the car. On this car seats on each side were hitting the floor mounting stubs so the sides had to be pulled out away from the floor to allow the seats to clear. On cars with grab poles you MUST be very careful since the grab poles are plastic and will break at the slightest provocation.
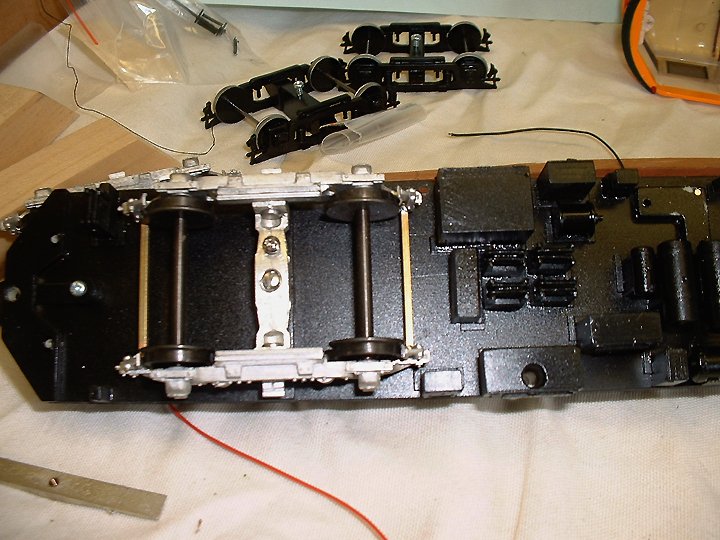
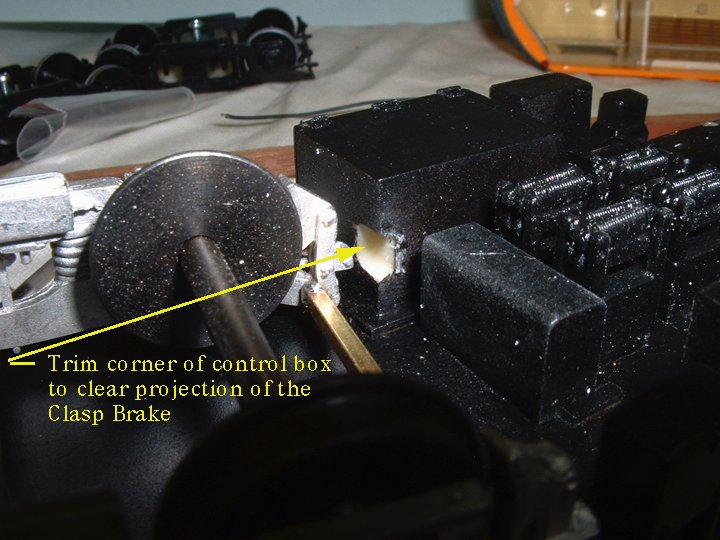
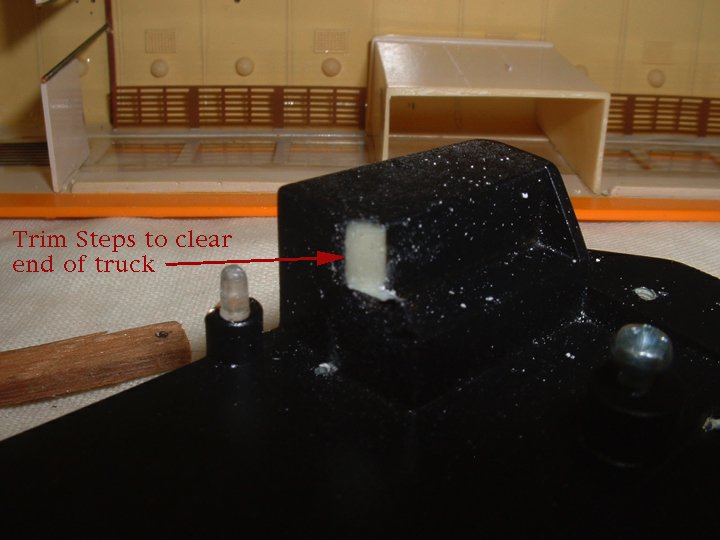
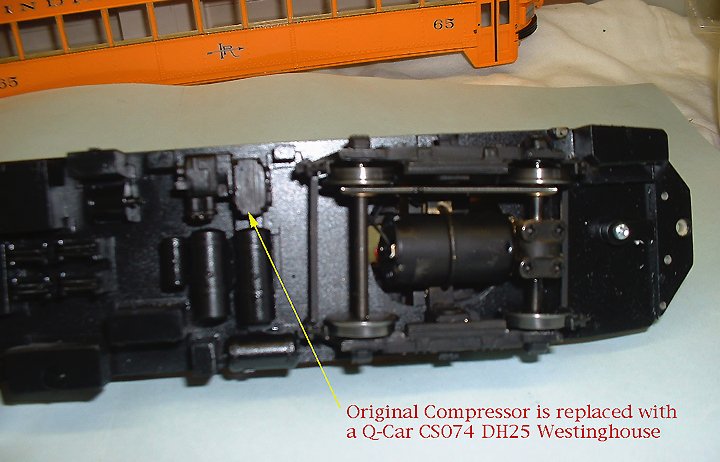
Once removed the floor can be prepared for modification. First determine if you want to front or rear mount the power truck. On this model we chose to put that truck up front. Clearance is very tight for our frames, and the small projections off the ends of the frames had to be filed off. Also, the step, and the small box to the rear of the set had to be cut, and the compressor had to be removed and relocated more to the center of the car. in this case we replaced the compressor with a Q-Car product. The original compressor has three legs that press into the floor. It can be pried out in one piece if done carefully.
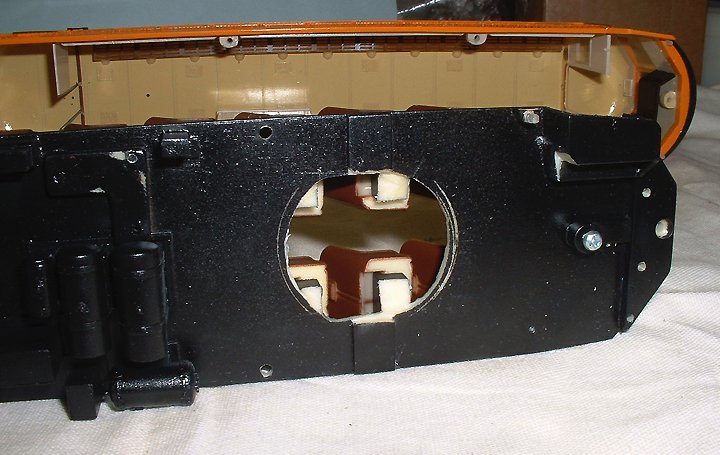
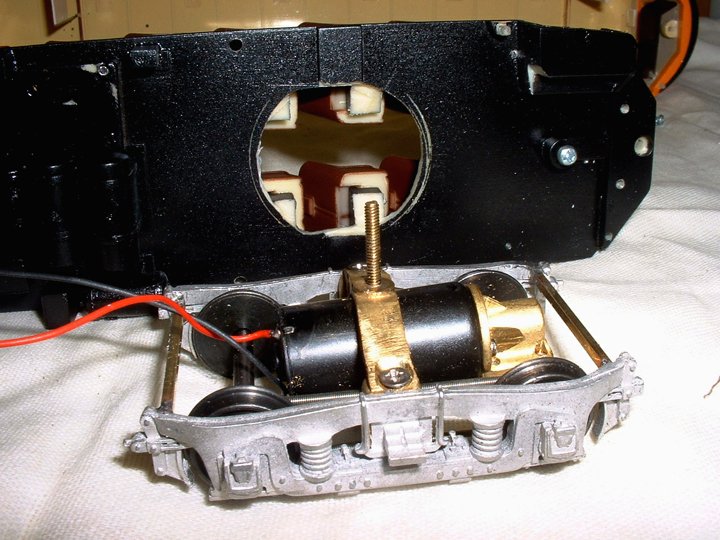
The hole for the power truck can be marked. As always we start with a circle, and extending the circle to accommodate the motor and the gear box. Cutting through the material this floor is made from is VERY messy. We do this with a Dremel tool with a commercial cutter, and we do it OUTDOORS. If you do it inside have a vacuum handy and vacuum often. The shards of plastic are like styrofoam and will stick to you like tinny snowflakes.
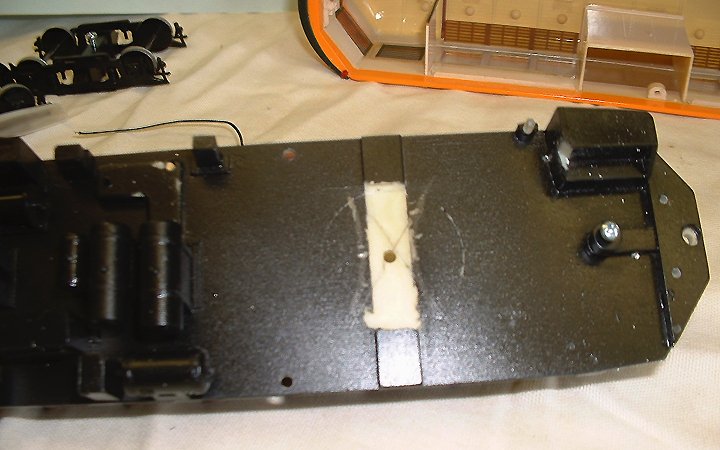
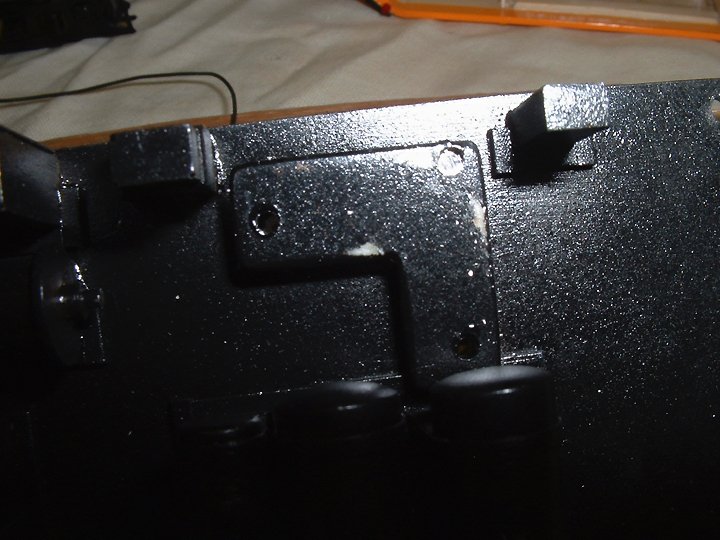
With the hole cut you must fabricate a bolster or use the bolster provided with the truck. In this case it was easier for us to fabricate a custom made bolster, but the factory provided one would have worked equally well. We just wanted it to have a flatter and lower profile since the customer was paying for this installation.
Once the bolster is installed, install the power truck and check for clearance. On this model the sides extend down and interfere with the frames, so we added some washers the lower the trucks and raise the car body. How much you raise the car off the trucks is dependent on what curves you have that must be negotiated.
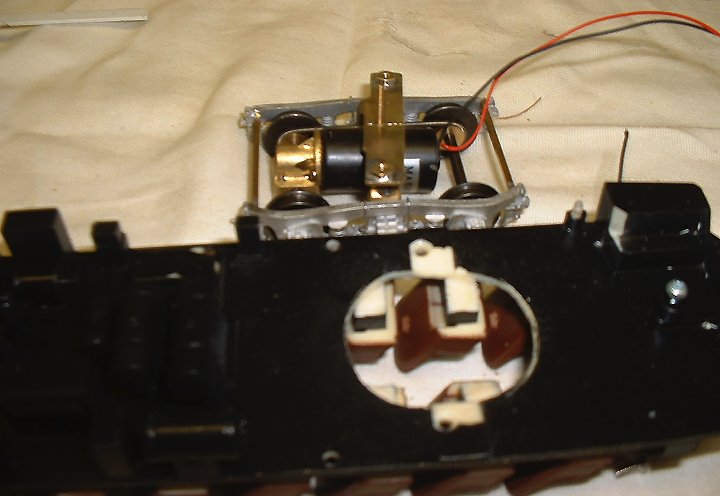
Once the power truck is installed the trailer truck can be mounted. This is done simply by tapping the existing hole with a 3-48 Tap, and then mount the truck with the screw provided with that truck. Again check the truck swing for clearance and trim anything that may cause the swing of the truck to be impaired. In the case of this model the main battery box had to be notched toward the rear.
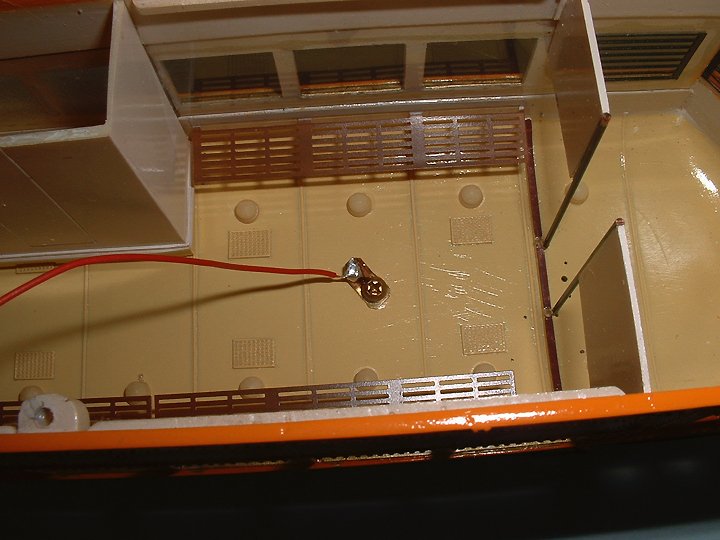
To install the pole first drill out the pole base with a 1.8 mm drill bit and tap the hole with a 2-56 tap. Make a solder lug from a small piece of brass, then mount the lug using the screw provided with the pole. Very carefully solder the motor lead to this lug. If you are not good at soldering, solder the wire to the lug BEFORE mounting it to avoid putting excessive heat into the car roof. Doing so can blister the paint or distort the model.
You can now remount the floor back into the car body, remembering to extend the sides a little to clear the mounting stubs. Install the pole, and install the nicely detailed pole hook that comes with the model, and you are ready to run your car.
|


